2.1 Navigating RStudio
2.1.1 The four panes
When you open RStudio, you will see four main panes on your screen. They are as follows.
The first pane, and probably the one you will spend the most time in, is the source pane. This is where you can write and edit your scripts, which are your files that contain R code. Generally, you will be working with either .R files (which contain code only) or .rmd files (which are more akin to traditional documents with chunks that execute code).
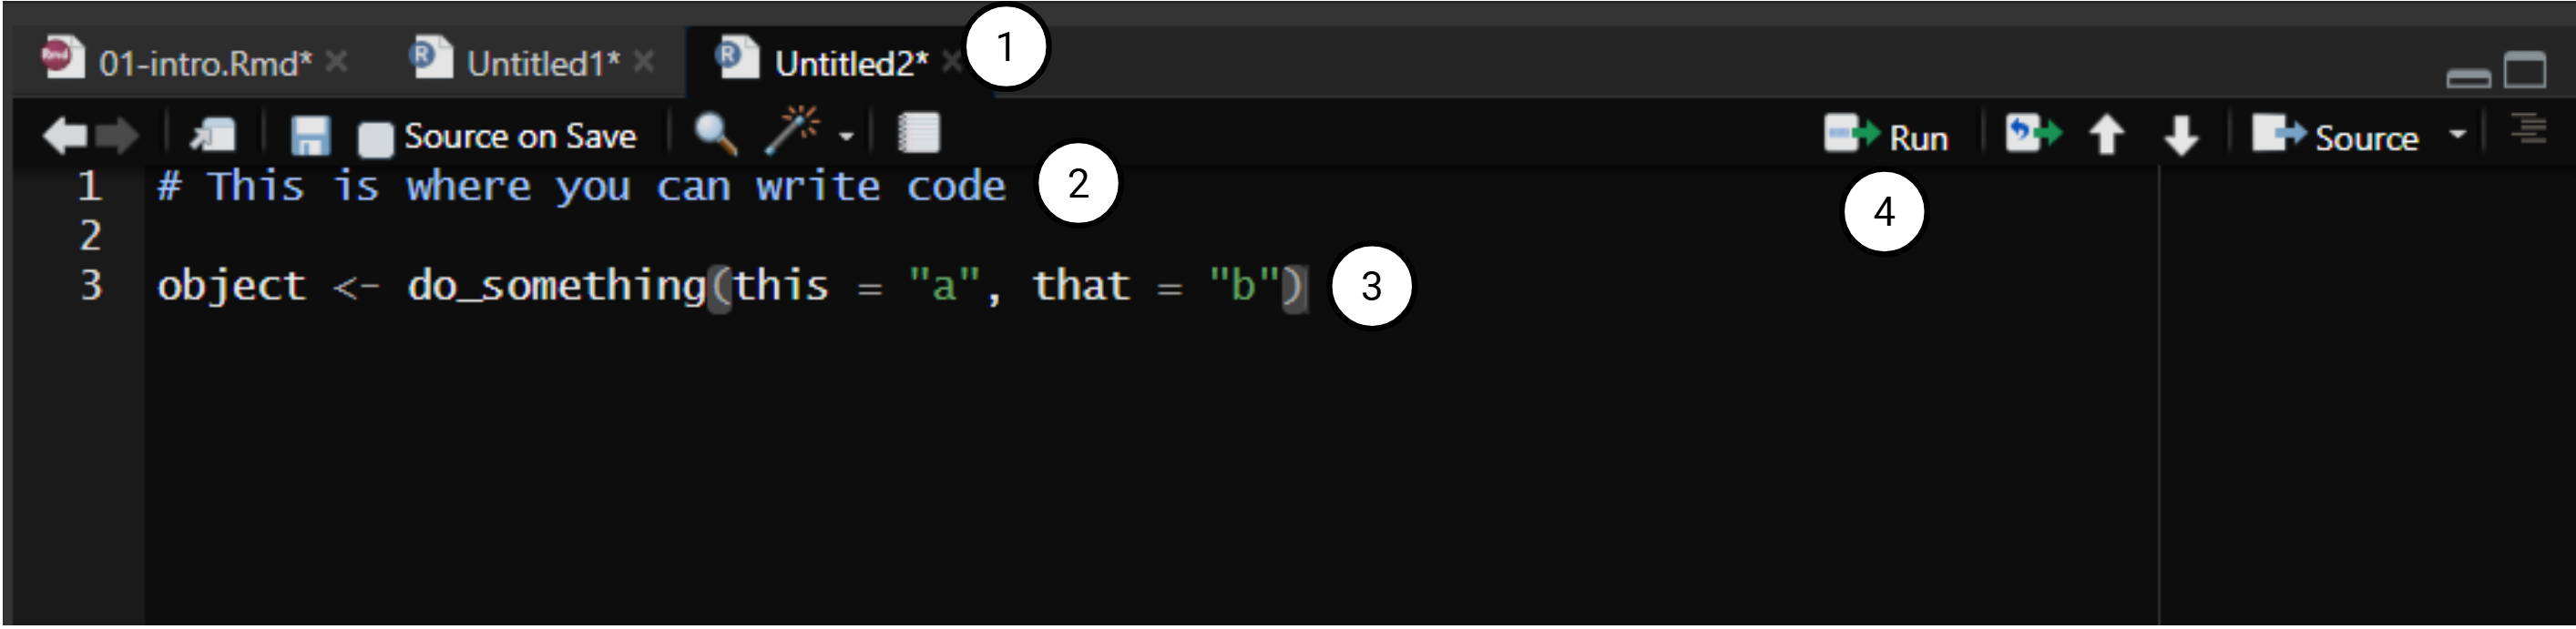
There are some main elements to the source pane that are useful to know, which have been numbered above:
- Each file you are working on will have its own tab. As you can see here, I currently have three files (including the source document for this very chapter!).
- Any lines of text with a hash (#) in front of them are comments, which enable you to write text without executing code. These are super useful for annotating your code so that others can understand what your code does.
- This is a line of code. As you can see, RStudio will colour different elements of the code in different colours.
- This button will run any code that you have selected. To use it, highlight the code you want to run and click this button.
 In the top right you will have the environments pane. If you create variables or load in data, you will be able to see them here.
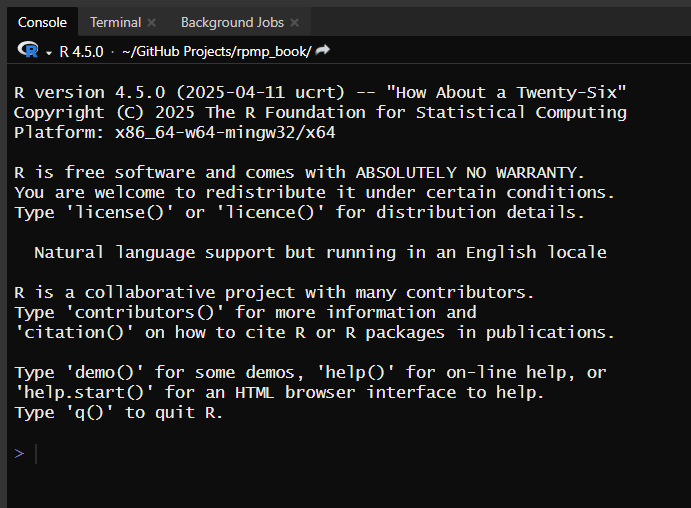
In the bottom left you will see the console. This is where all R code is actually executed, and where all output is printed. When you run code from the source pane (e.g. from a script), you will see the code being run down in the console. You can also execute code directly in the console if needed.
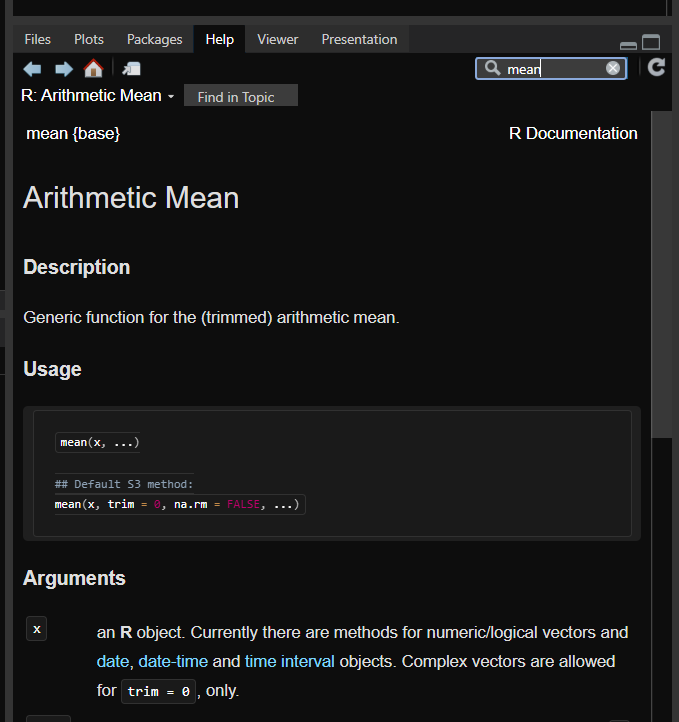
Finally, in the bottom right you will have what is usually called the output pane. You can see that there are multiple tabs in this pane as well. From left to right, the main ones you need are:
- Files: A file explorer that lets you see all your files.
- Plots: Any graphics (e.g. plots) will be shown in this tab.
- Packages: This lets you see what packages are installed. More on this in a few pages!
- Help: This pane lets you search for help pages on functions.
2.1.2 Projects
One of the great features of R is that we can easily create projects within RStudio. Projects allow us to contain everything related to a single project/line of work within one main folder.
All of the R-related files that are provided in this course come in .zip files. Once you unzip these files, you may see something like this:
|-RPMP
|---rpmp_week1.Rmd
|---w1_dataset.csv
|---RPMP.rproj
Here, we have one data file (.csv), one file of code (.Rmd) and one .rproj file. Always open the .rproj file to ensure that everything is set up correctly. Once you have done that, you will see RStudio switch over to this project.
We won’t get too deep into project-oriented workflows for RPMP. However, there are several benefits to working within projects in RStudio, which we will expand on in the coming pages. One benefit that we can discuss now though is that projects simply encourage effective and easy file management: by containing everything within the one folder, you can organise all your files relevant to that project within the one group. It might be useful, for example, to create one Project for each study in your thesis (if your thesis is quantitative and you plan on using R).
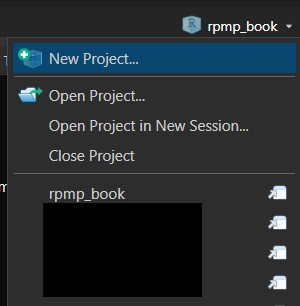
Switching between projects is also easy by using the little icon at the very top right of your screen (above the environment pane):